
Instructions and How-To Guide
- Home
- Instructions
All sample containers should be placed back into the biohazard bag upon completion of collection for pickup. Ensure the paperwork is in the sleeve on the outside of the biohazard bag.
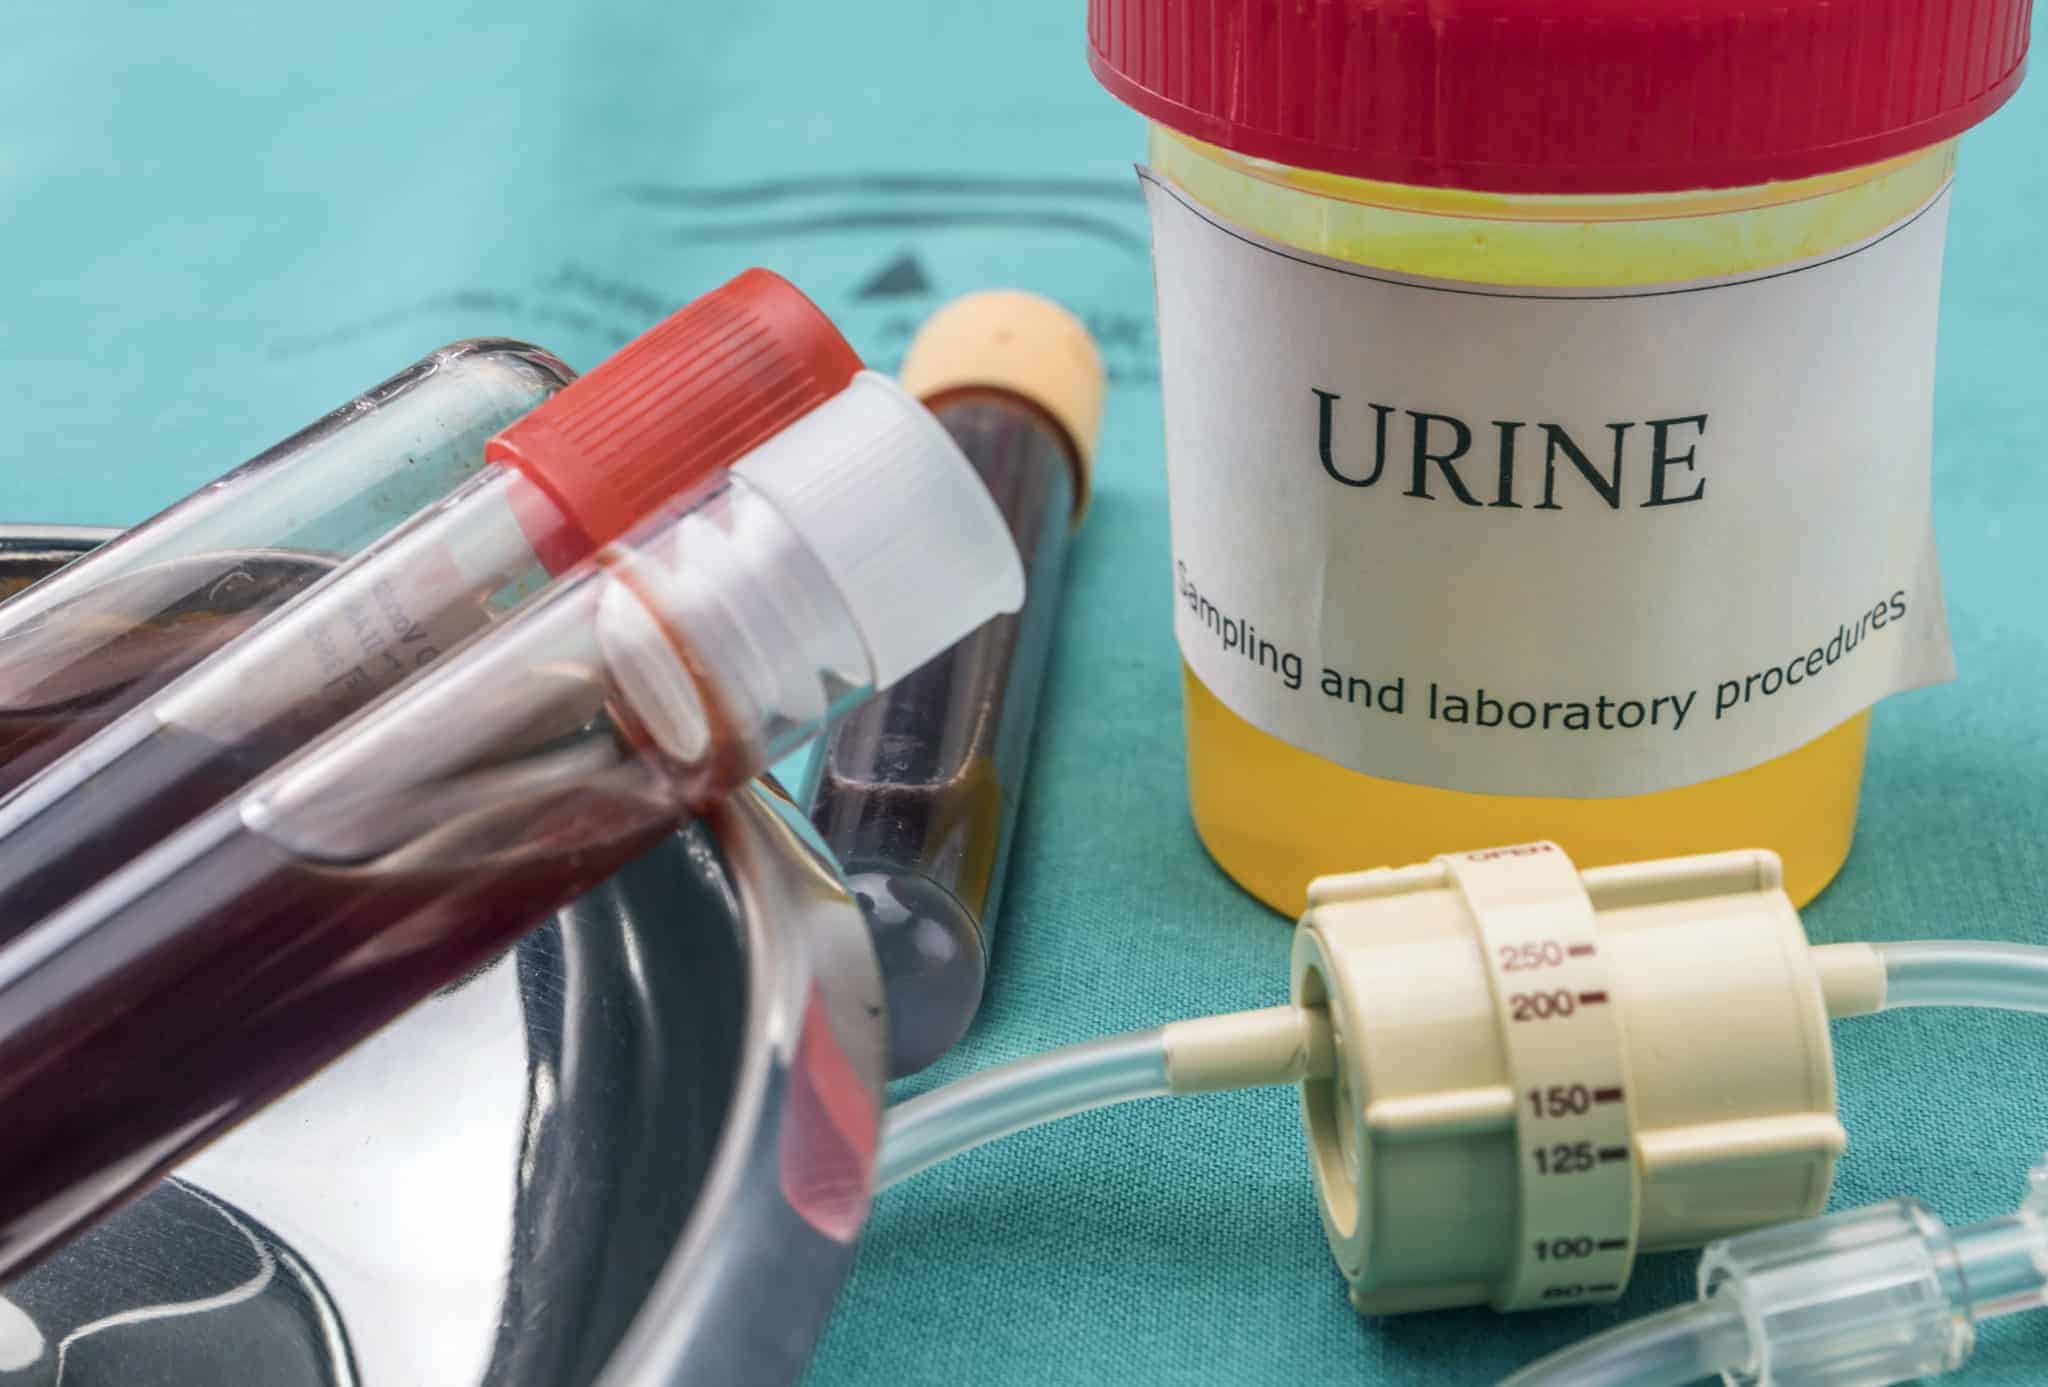
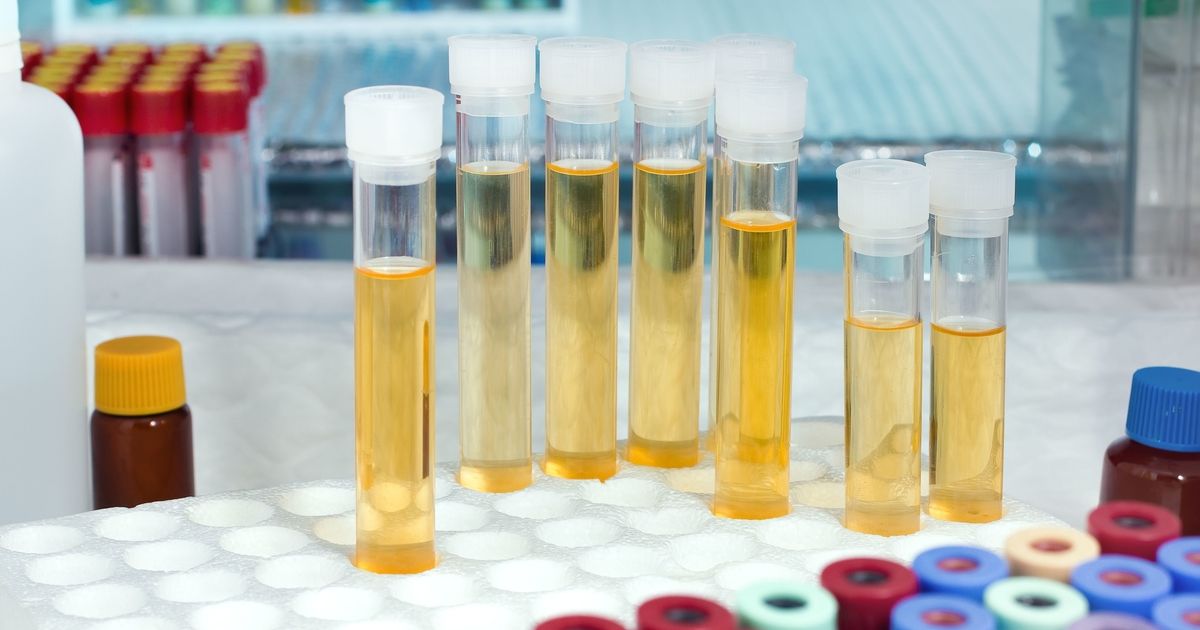
Urine Collection
Caution: Under the protective sticker on top of the urine collection cup there is a rubber sheathed needle. Do not place fingers into the transfer port on to the needle as it may cause injury.
Wash hands thoroughly with soap and water.
Unscrew the blue cap.
Place the blue cap on the counter with “straw” facing upwards. Do not touch the inside of the cap or straw.
Urinate into the urine collection cup without touching the inside of the cup.
If using a collection hat: Place the collection hat in the front of the toilet Urinate in to the collection hat Pour urine from the spout at the front, center of the hat in to the urine collection cup Replace the blue cap onto the urine collection cup.
Peel back protective sticker on top of the urine cup to expose rubber sheathed needle. Push the urine preservative tube (red/ yellow top tube) into the integrated transfer port pushing the tube down over the rubber sheathed needle.
Hold in position until flow stops, then remove the tube. Invert preservative tube 8 – 10 times to mix the sample. Place the protective sticker back over the integrated transfer port.
Verify filled tubes are labeled with the full patient’s name, date of birth, and the collection date/time. The tubes and cup should be labeled by your phlebotomist upon drop off.
Your specimen will be picked up at the date and time scheduled with you by the phlebotomist. This appointment is noted above for your convenience.

Stool Collection
Wash hands thoroughly with soap and water.
Place the collection hat in the back of the toilet Defecate into the collection hat (avoid urine getting into the hat. This will contaminate the sample)
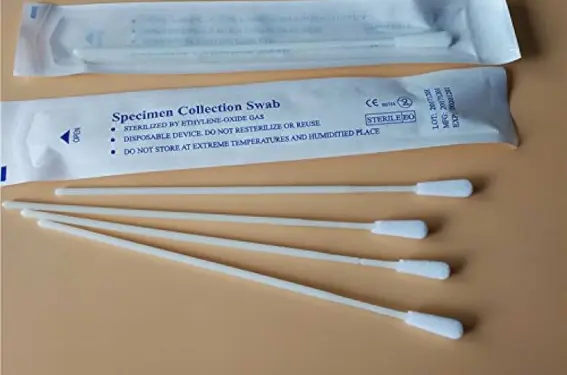
Using the white swab put the flocked end (q-tip end) in to the stool sample Collect approximately a dime sized amount of sample Place the swab in to the sample container Break the stick of the swab off by applying gentle pressure to the side of the container at the red mark on the swab stick.
Replace the white cap onto the stool collection swab. Verify the swab tube is labeled with the full patient’s name, date of birth, and the collection date/time. The tube should be labeled by your phlebotomist upon drop off.
Your specimen will be picked up at the date and time scheduled with you by the phlebotomist. This appointment is noted above for your convenience.
Place the collection hat in the back of the toilet Defecate into the collection hat (avoid urine getting into the hat. This will contaminate the sample)
Using the white swab put the flocked end (q-tip end) in to the stool sample Collect approximately a dime sized amount of sample Place the swab in to the sample container Break the stick of the swab off by applying gentle pressure to the side of the container at the red mark on the swab stick.
Replace the white cap onto the stool collection swab. Verify the swab tube is labeled with the full patient’s name, date of birth, and the collection date/time. The tube should be labeled by your phlebotomist upon drop off.
Your specimen will be picked up at the date and time scheduled with you by the phlebotomist. This appointment is noted above for your convenience.
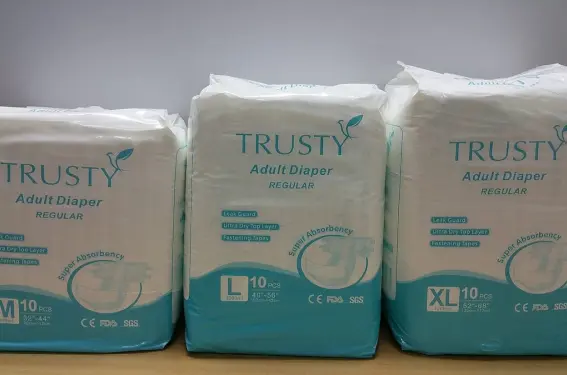
Diaper Core Collection
Urine collection:
- Wash hands thoroughly with soap and water prior to collection
- Place a clean diaper on patient for collection
- As soon as possible after patient urinates remove diaper i. If urine is mixed with stool place another diaper on patient and attempt collection again
- Tear open the diaper and remove a golf ball sized amount of urine-soaked gel and place it into the provided sterile cup.
- Verify the collection cup is labeled with the full patient’s name, date of birth, and the collection date/time.
- The cup should be labeled by your phlebotomist upon drop off.
- Your specimen will be picked up at the date and time scheduled with you by the phlebotomist. This appointment is noted above for your convenience.

Stool collection:
- Wash hands thoroughly with soap and water prior to collection
- Using the white swab put the flocked end (q-tip end) in to the stool sample
- Collect approximately a dime sized amount of sample
- Place the swab in to the sample container
- Break the stick of the swab off by applying gentle pressure to the side of the container at the red mark on the swab stick.
- Replace the white cap onto the stool collection swab.
- Verify the collection cup is labeled with the full patient’s name, date of birth, and the collection date/time.
- The cup should be labeled by your phlebotomist upon drop off.
- Your specimen will be picked up at the date and time scheduled with you by the phlebotomist. This appointment is noted above for your convenience.
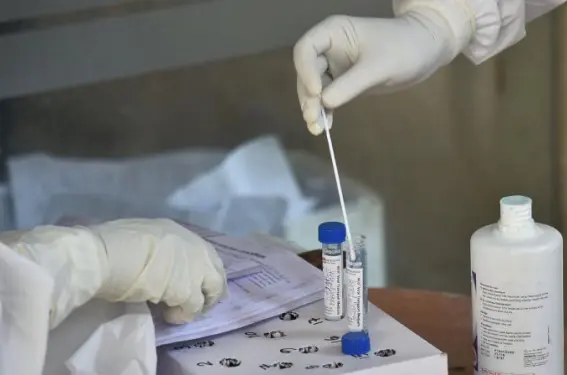
Rectal Swab collection
- Wash hands thoroughly with soap and water prior to collection
- Remove the transport tube and collection swab from packaging
- Verify the collection tube is labeled with the full patient’s name, date of birth, and the collection date/time.
- The tube should be labeled by your phlebotomist upon drop off.
- Open the package containing the collection swab; do not lay it down or let it touch anything other than the collection site.
- Firmly hold the collection swab above the scored line (closer to the tip of the swab)
- Gently insert the swab 1 inch into the rectum and twirl in a circle at least 5 times.
- Do not let go of the swab while it is inserted.
- Withdraw the swab without touching your skin.
- While still holding the swab, carefully unscrew the cap from the tube of liquid. Do not spill the contents of the tube.
- Immediately place the swab into the tube so that the soft tip of the swab is in the liquid at the bottom of the tube.
- Carefully break the swab shaft at the scoreline (dented line around middle of stick), being careful not to spill the liquid in the tube.
- Leave the soft end of the swab in the tube and throw away the top portion of the swab shaft.
Vaginal Swab collection:
- Wash hands thoroughly with soap and water prior to collection
- Remove the transport tube and collection swab from packaging
- Verify the collection tube is labeled with the full patient’s name, date of birth, and the collection date/time.
- The tube should be labeled by your phlebotomist upon drop off.
- Open the package containing the collection swab; do not lay it down or let it touch anything other than the collection site.
- Carefully insert the soft tip end of the swab into your vagina about 2 inches past the opening of the vagina.
- Gently rotate the swab for 10 to 30 seconds, making sure the swab touches the walls of the vagina so that moisture is absorbed by the swab
- Withdraw the swab without touching your skin.
- While still holding the swab, carefully unscrew the cap from the tube of liquid. Do not spill the contents of the tube.
- Immediately place the swab into the tube so that the soft tip of the swab is in the liquid at the bottom of the tube.
- Carefully break the swab shaft at the scoreline (dented line around middle of stick), being careful not to spill the liquid in the tube.
- Leave the soft end of the swab in the tube and throw away the top portion of the swab shaft.
- Tightly screw the cap onto the tube.